
This documentation explains how to use the Simple Proof integration with Docusign. The integration enables you to timestamp your agreements on the Bitcoin blockchain directly from Docusign Maestro workflows.
Before you begin
Before performing the actions described in the following sections, make sure you have an active Simple Proof's account.
If you do not yet have an account, please visit Simple Proof Console and complete the registration process before continuing.
How to install and configure
Please follow the official guide to install the Simple Proof app from the Docusign App Center.
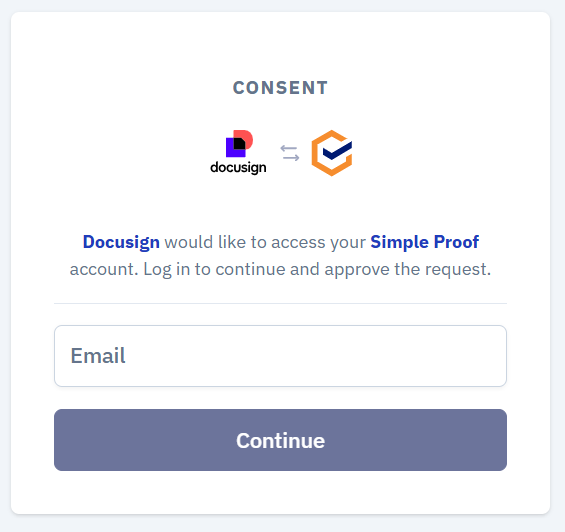
Once installed, you will be prompted to connect the app to Simple Proof. To complete this step, you must authorize Docusign to access your Simple Proof's account.
Before granting consent, you will be required to authenticate and will be directed to the login screen.
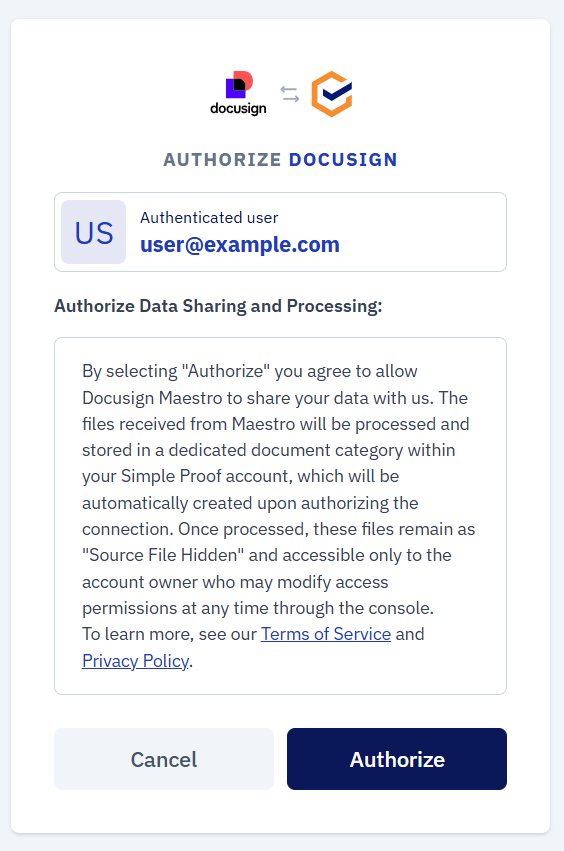
Select Authorize to grant the app permission to connect to your Simple Proof's account.
In the list of installed apps, the Simple Proof app should now appear as active:

How to use the app
The Simple Proof extension app for Docusign simplifies the process of sending documents for timestamping on the Bitcoin blockchain by enabling seamless integration within Docusign Maestro workflows.
The app is easy to configure and requires only minimal setup. Users simply need to specify how they want their documents to be submitted for timestamping.
To begin, create a new Maestro workflow:

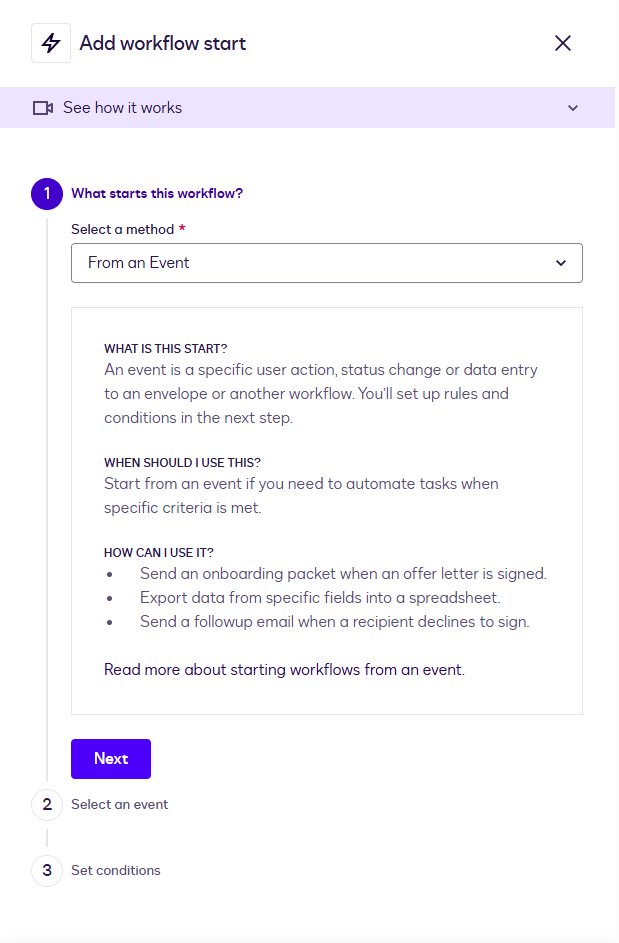
In the workflow configuration, you can select the start “From an event” option if you want the Maestro workflow to automatically begin after the specified event occurs.
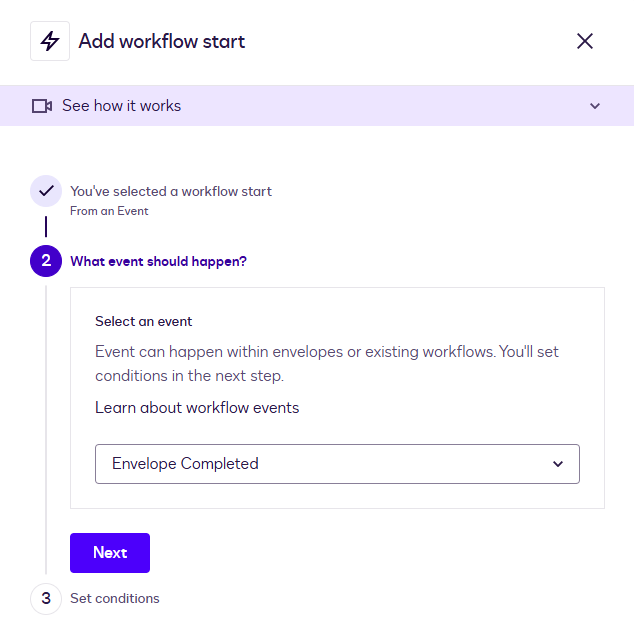
Next, you need to configure the event that will trigger the workflow execution.
Docusign provides different types of events, such as Envelope events, Workflow events, and Recipient events. Since the goal is to send completed documents for timestamping, we will focus on Envelope events.
In most cases, the most appropriate option will be the “Envelope completed” event, which allows you to send your agreements for timestamping once they have been fully executed.
As a final step, you may optionally define additional conditions for the selected event. If no conditions are specified, the default setting is:
No, start this workflow for all selected events connected to my account.
This means the workflow will run every time the selected event occurs.
Configuring the application in Docusign Maestro
Add a new step to your Maestro workflow and navigate to the “Apps” section.
From there, select the Simple Proof application.
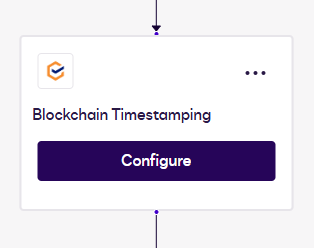
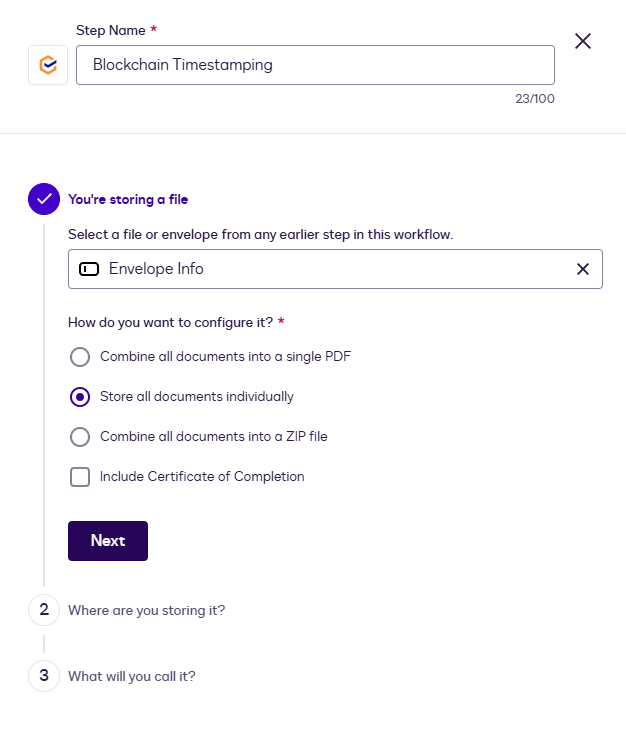
Next, configure the step to specify the source of the document that will be sent for timestamping.
In the section "Select a file or envelope from any earlier step in this workflow.", choose "Envelope Info"
Next, additional options will be displayed to configure how the files are sent. In this case, select “Store all documents individually.” This ensures that each document is timestamped individually.
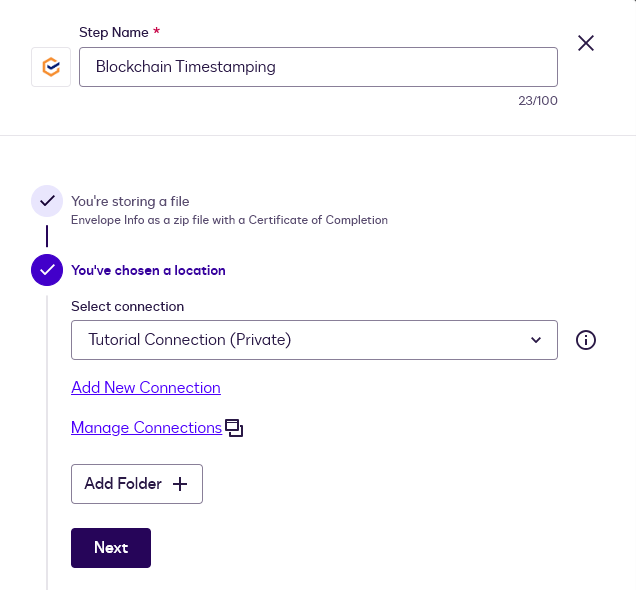
The next step is to select a connection. The connection was created during the installation and configuration process described in the "How to Install and Configure" section.
You can select that existing connection or create a new one if needed.
Note:
The "Add Folder" option provided by Docusign is not supported by the Simple Proof integration because the underlying system does not use a drive-based storage structure.
Files sent from Docusign Maestro are automatically stored in a dedicated space reserved for Docusign deliveries within the Simple Proof console. This location is managed by the integration and does not require manual configuration.
If you click "Add Folder" the interface may return an error. This behavior can be safely ignored and does not affect the operation of the integration.
Finally, you can define the name that will be assigned to the generated files. You may enter custom text or select one or more of the variables provided by Docusign.
For this example, we selected "Envelope ID" and enabled "Add numbered suffix to files with duplicate titles." This ensures that files with the same name are automatically distinguished by an incremental number.
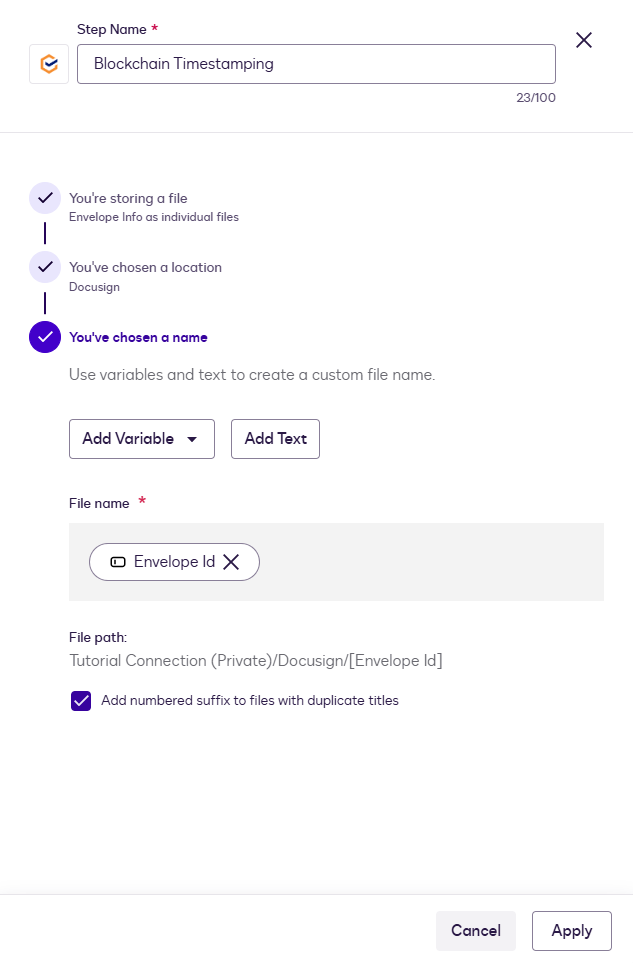
Click "Apply" to save the configuration and complete the setup.
Viewing Files Received from Docusign
To view all files sent from your Maestro workflow, go to Simple Proof Console and sign in to your Simple Proof account. Then, navigate to "My Proofs".
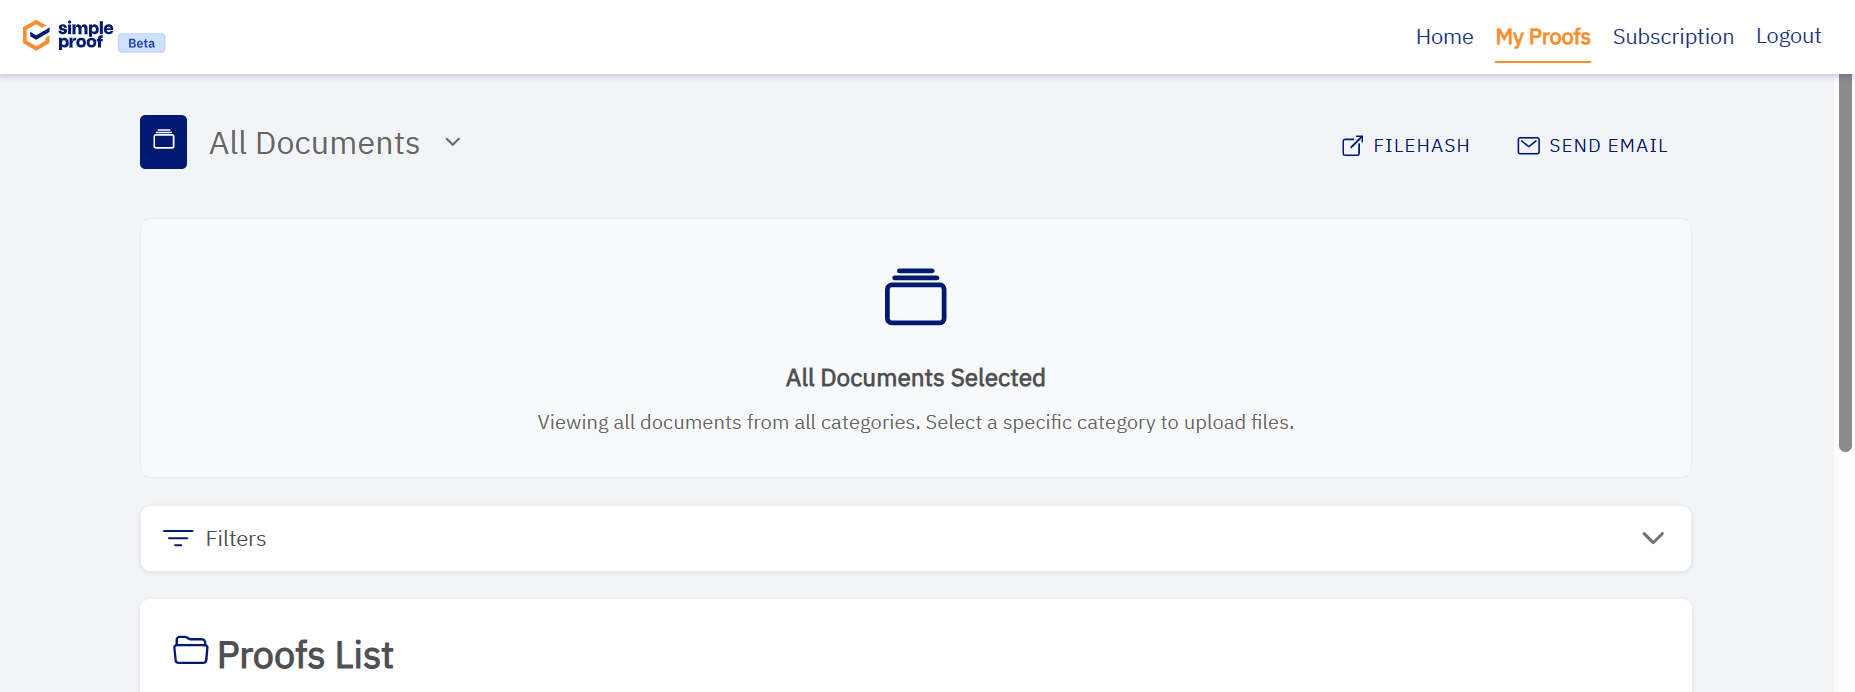
Once in "My Proofs", you can change the category using the selector at the top of the page.
If this is your first time receiving files from Docusign, you will see that a new category named Docusign has been automatically created.
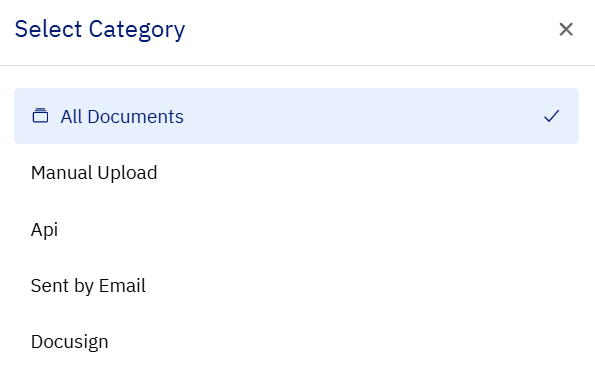
Select the Docusign category to display the files received from Docusign Maestro workflows.
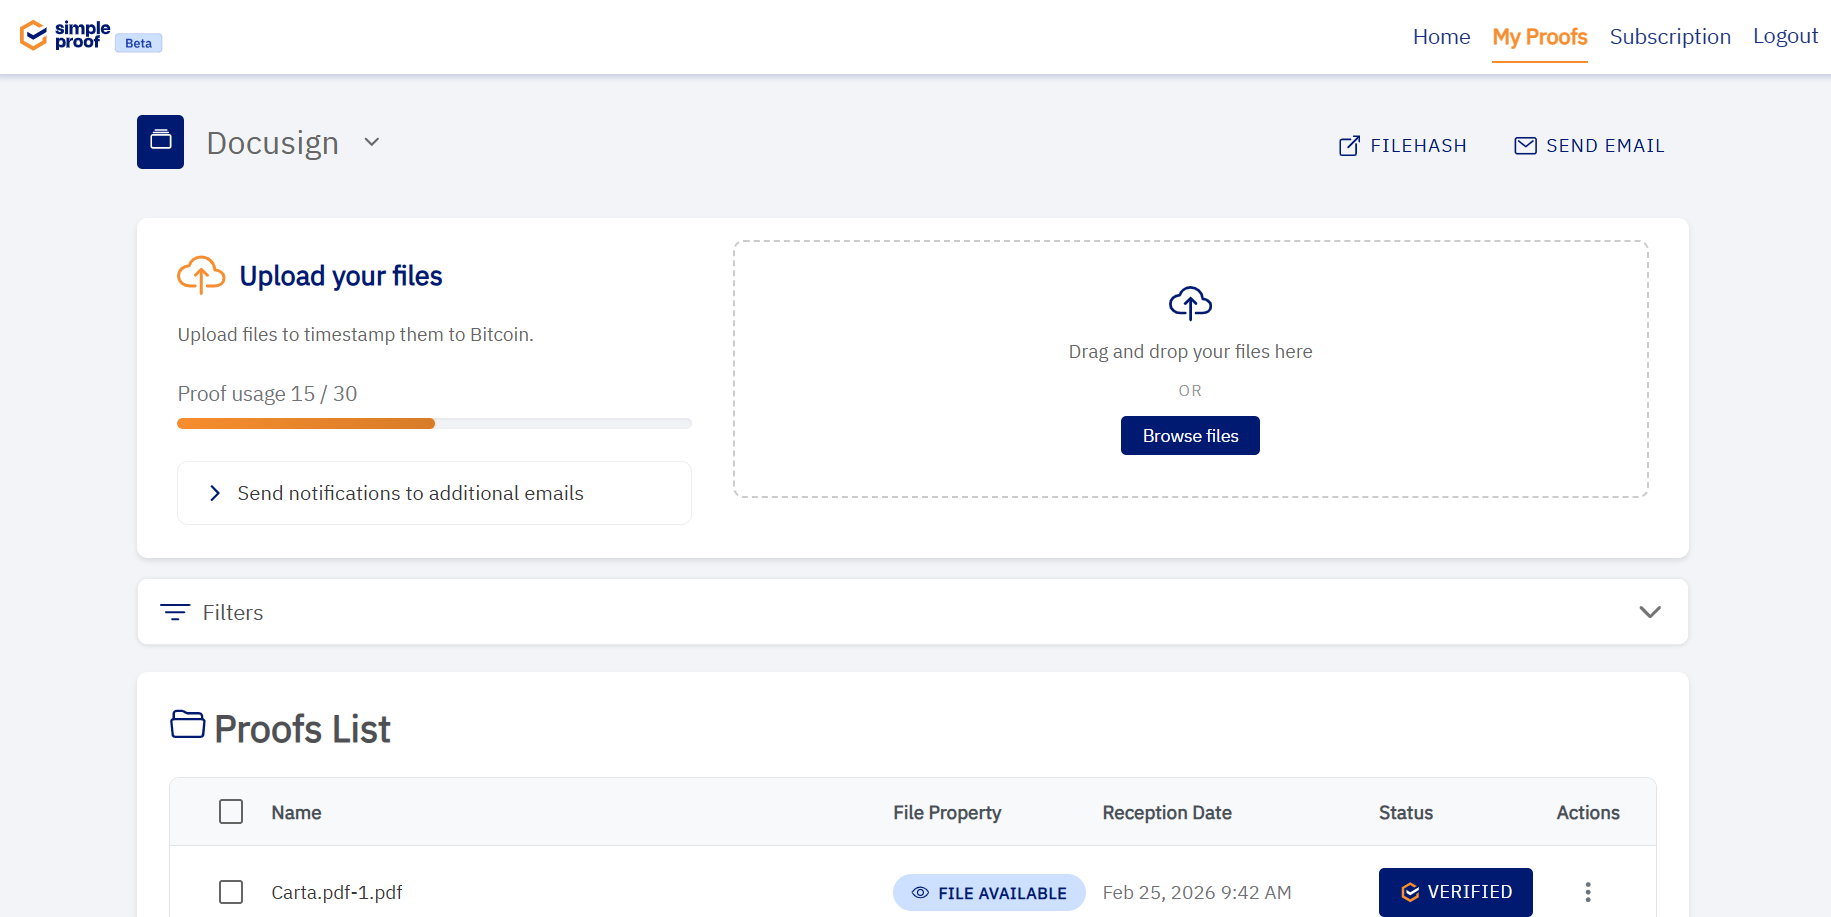
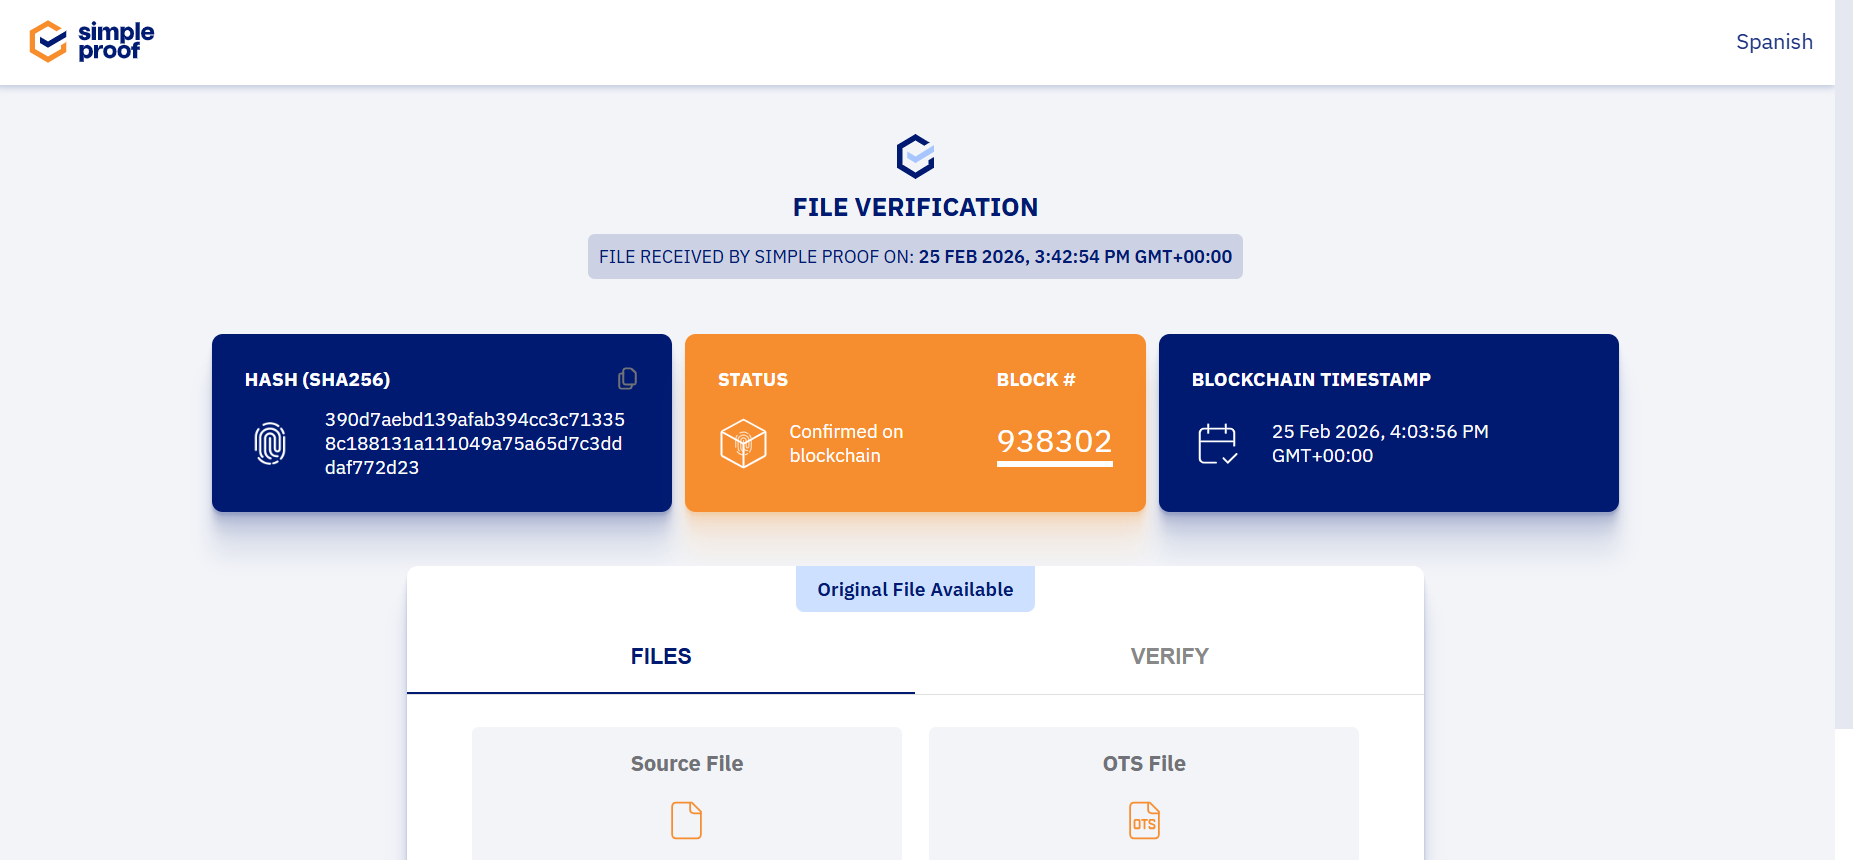
You can now access the verification page for each file. Once the timestamp has been confirmed on the Bitcoin blockchain, the relevant verification details will be displayed.
Support
If you encounter any issues with the application or have feedback, please contact our support team at [email protected]. We’ll be happy to assist you.